Photographing Your Mt. Kilimanjaro Climb : As you start packing for your Kilimanjaro trek you may wonder whether it’s worth it to lug your DSLR all the way to the top of Africa. You might be tempted to just use your phone to capture your epic journey to Uhuru Peak, but I urge you to take on the extra weight and carry the real deal – you won’t regret it. In this post, I’ll give you a few tips to make the post-summit photos you post to Facebook pop!
BEFORE THE TRIP
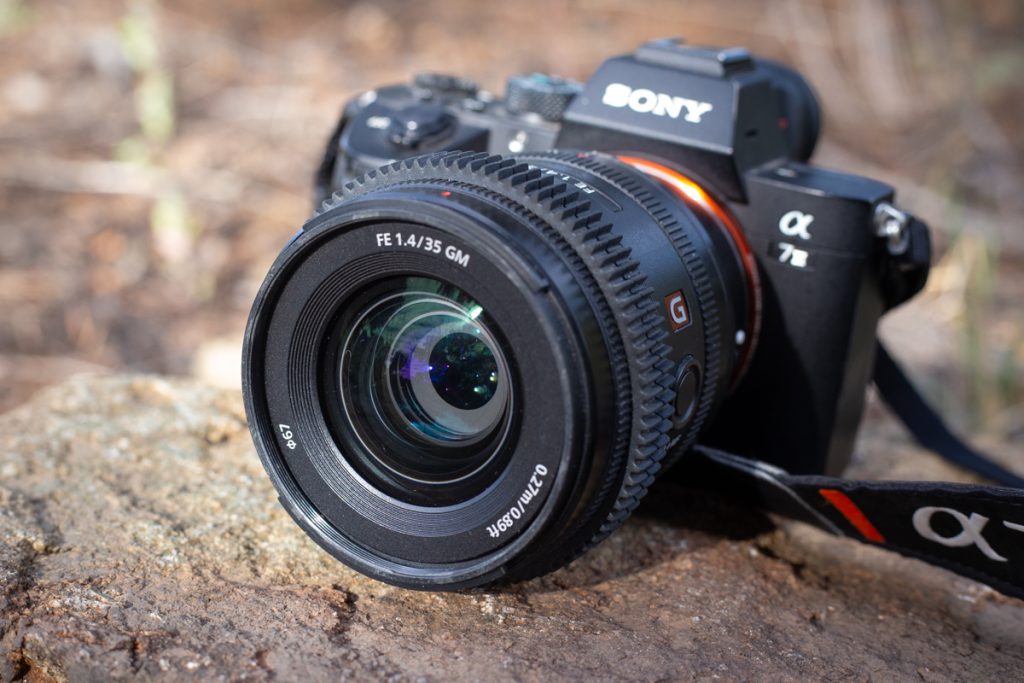
When you pack your camera I recommend bringing along only one lens on the hike. A good general purpose zoom lens will cover most of the shots you’ll want to take on the mountain. I have a Nikon D40x and Nikkor 18-200mm VR lens and it worked like a charm. If you don’t want to invest in an expensive lens, think about renting one from a local photography shop. Not only will packing one lens cut down on the weight you carry, but it also reduces the time spent switching out lenses. You’ll appreciate this at the top when your hands are incredibly cold, and during most portions of the mountain where the likelihood of dust getting in one of the light sensors is high. With all the weight you’ll save by only bringing one lens, I recommend packing the following:
An extra battery
An extra SD cards
Lens cap string
Thin gloves that allow you to take pictures
Small carrying bag for your camera – Don’t bring anything too bulky, just enough to keep your camera clean and snug in your pack
External flash (optional) – Light won’t be a problem on the mountain. Bring this only if you feel like you’ll take a lot of shots at night
Tripod (optional) – If anything bring a mini-tripod for stable shots during breaks
Another tip for novice photographers – do some basic research on shutter speed, aperture, and ISO settings. You’ll want to be shooting in manual mode on the trip, so make sure you have the basics covered before you get to Tanzania.
Photographing Your Mt. Kilimanjaro Climb
DURING THE TRIP
On the first day of hiking through the rainforest you can hold your DSLR and taking pictures frequently. Whether it is the initial excitement of starting the trek or something else, this will work out fine for you. At the beginning of the day, you will adjust your settings to account for the relatively low light conditions – because the trees will block much of the sunlight. Once you start climbing more steep hills at the end of the day you can put your camera back in your bag and only pull it out during breaks. In general, the first day is a good day to practice since the hiking isn’t that strenuous and the scenery of the rainforest lends itself to lots of different wildlife.
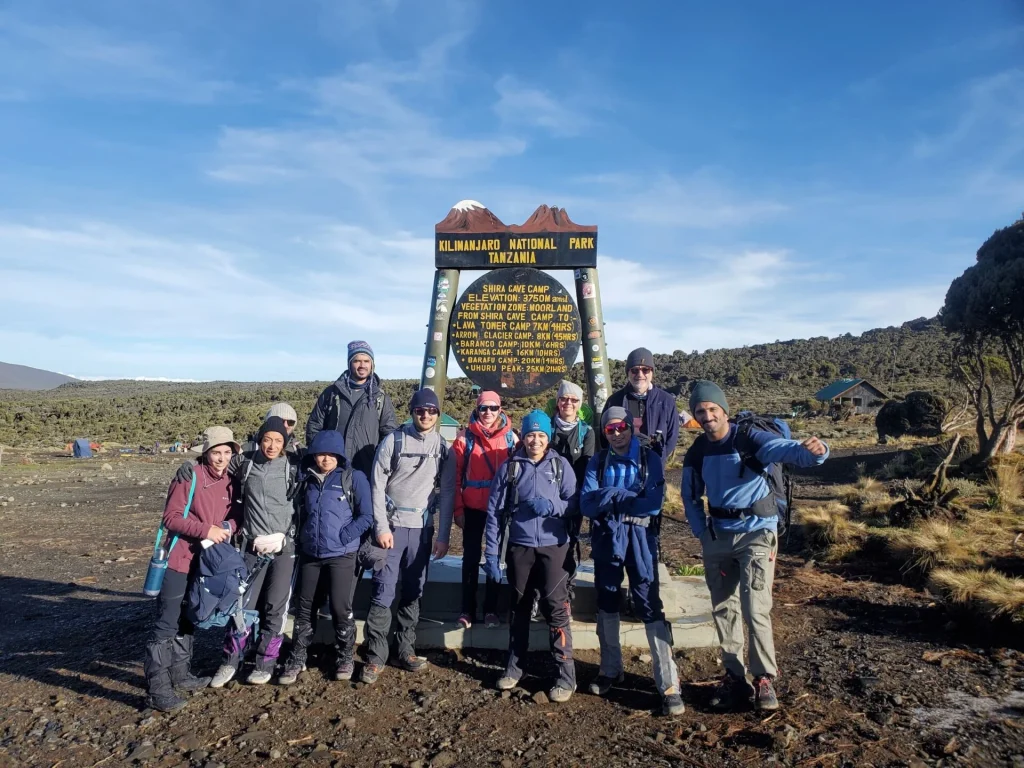
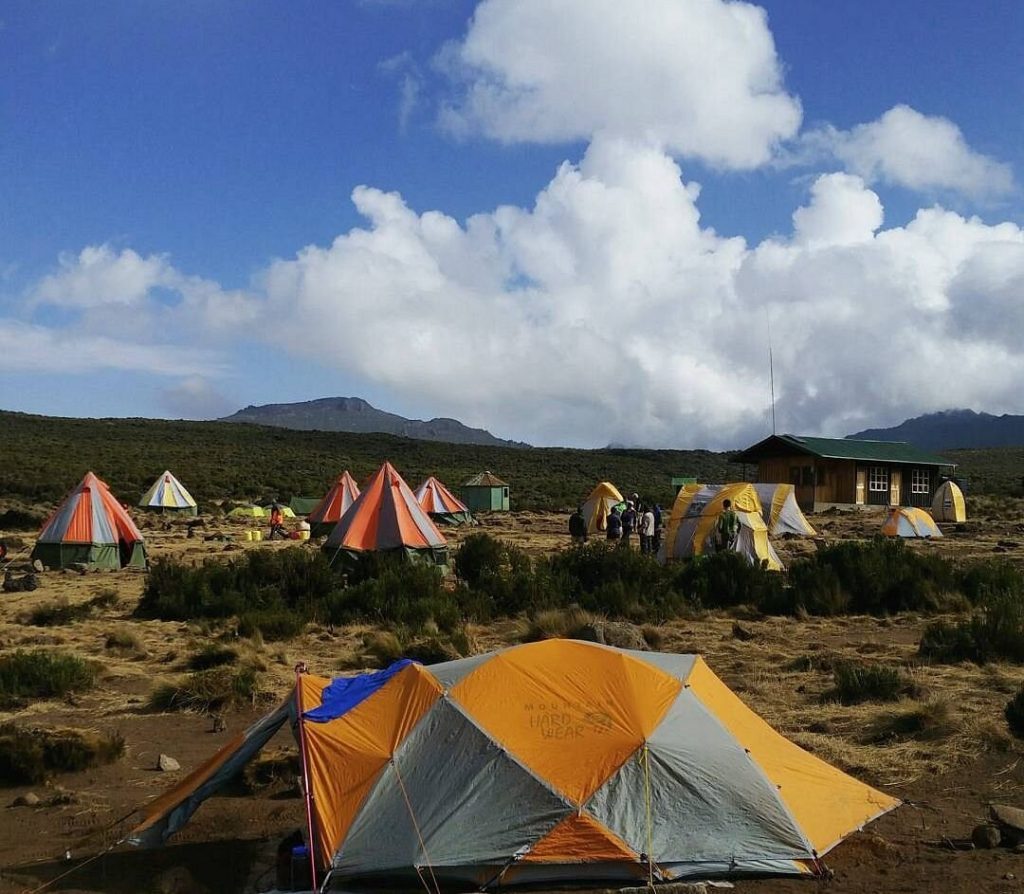
For the majority of the rest of the trip your camera stayed in your pack until you stopped for a break – unless you found a shot that you absolutely had to take. In that case you just let the group go ahead and caught up with them eventually. Many hikers like taking pictures of interesting lines, silhouettes, and (especially) contrasting colours. You will find there to be a lot of these opportunities while hiking so you can always be on the lookout. Another thing that you might like to do while hiking is make sure you include people in your shots of the landscape. Doing so helped give everything perspective and underscored how majestic the mountain really is.
Another point to remember is that you will take a different route coming down than the one going up – so if you see a picture you want to take, take it. You won’t see that particular view again unless you plan on climbing Kilimanjaro via the same route again someday!
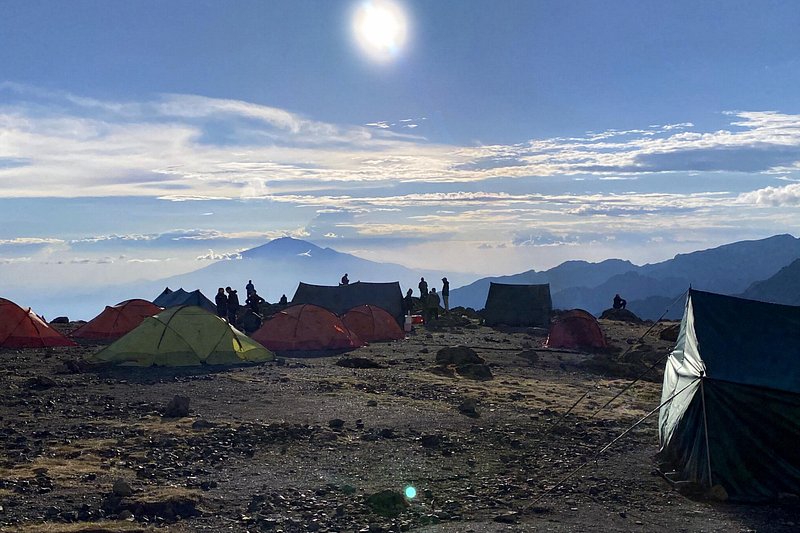
As you get higher on the mountain and above the tree line you’ll start getting flooded by light and you’ll need to adjust your settings accordingly. The first thing to do is to bring your ISO settings all the way down during the day – and then bring them back after sunset. On one occasion you can try to use your headlamp to bring extra light in the shot, but it didn’t come out great so I can’t really recommend it.
During summit day make sure you have your camera in an easy-to-access location. There really won’t be any photo opportunities until you get to the top because you’ll be departing for Uhuru Peak around midnight in pitch-black conditions. It’ll also be very steep and very cold, so save your energy until the sun rises and you’re at Uhuru Peak.
When you reach the top, you’ll be experiencing a lot of emotions. You’ll be exhausted, cold, and frankly in awe of yourself standing at the highest point in all of Africa! You’ll see glaciers around you, the moon on your right, and the sun rising on your left – and ahead of you will be a sign congratulating you on reaching Uhuru Peak, 19,340 ft high. Take it all in for a moment, but then know that you don’t have a whole lot of time before you have to head back down. Pull out your camera, adjust your settings exactly right, hand it to your porter, and smile knowing that you’ll be looking at these pictures for a long time.
AFTER THE TRIP
After you’ve come back down to reality and you’re in front of a computer it’s a good idea to do some basic retouching and cropping to make your pictures stand out and share the experience with your family and friends.
You obviously can use a lot of different tools ranging from Picasa to PhotoShop, and depending on your experience with these tools you may prefer one over the other. One thing that we noticed is that the colours on the mountain we normally experienced didn’t really show up as well in our pictures as they did in my memory. To correct for this we increased the color saturation in most of my pictures. The downside of this is that you lose a little bit of detail, but I thought it was worth the trade-off.
We also really like creatively cropping pictures to make sure the subject of our picture is featured prominently and nothing distracts the viewer from what I’m trying to say. Doing this along with applying basic filters (less dramatic than the ones you find on Instagram) can really make the viewer feel like they were there. Taken together, and assuming you don’t post EVERY picture you take, you can effectively tell your Kilimanjaro story to others with your pictures – and bring back memories of this journey you once took, when you look at them years later.